2026 Season Registration is Open
The Dayton Tri hosts the USAT Ohio State Championships!
Get Training Tips for your Off-Season
Kids Races at the Dayton Tri, and 5k, 10k & 15k Runs added to all Race Dates
Tear Up Transition: Gear FAQ
Learn more about the research consulted and images used in this section.
| Surge Your Swim | Boost Your Bike | Rock Your Run | Nutrition | Strength |
| Our Races | Training Plans | Tri Training Tips | Coaching |
Tear Up Transition in Your Next Triathlon
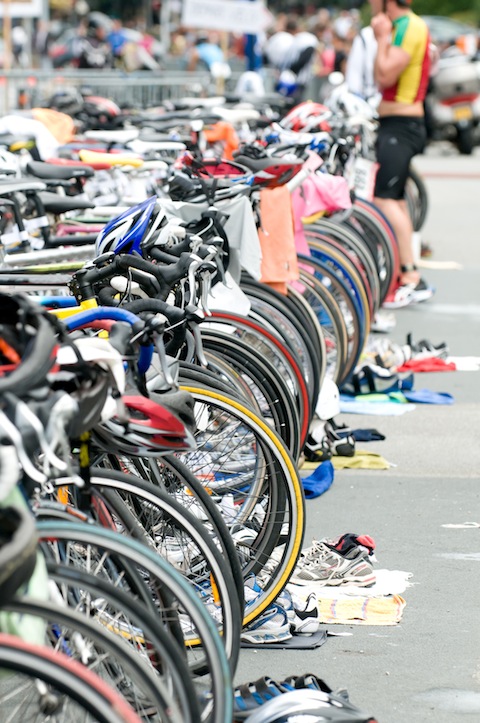
Triathlons are multi-sport races that include multiple disciplines or sports in the same race. The most common triathlon event starts with a swim, followed by a bike, and concludes with a run. Between each discipline, the athlete must enter a "transition area" where they switch from one sport to the next. In the transition area, the athlete switches out their sport-specific gear and exchanges it for the items they need to accomplish the next leg of the race.
Racers enter the transition area two times. T1 (Transition 1) occurs between the swim and the bike. T2 (Transition 2) is between the bike the run. For example, T1 athletes drop off their goggles and swim cap and pick up their bike, shoes, helmet, sunglasses, and water bottles. In T2, for example, athletes rid themselves of their cycling gear and get on their run shoes.
Mastering the transition can save you valuable time in a triathlon race.
Multisport Gear (Under Construction - more coming soon)
What do I need on Race Day? Preparing a packing list for your triathlon/duathlon is one of the most important things you can do before race day. Some key items to include are:
- USAT license
- Photo ID
- Race outfit
- Swim goggles
- Swim cap
- Towel
- Bike
- Helmet
- Sunglasses
- Bike shoes
- Water bottles
- Nutrition (gels, bars, etc.)
- Running shoes.
You may also want to bring: money, wetsuit, sox, and change of clothes.
http://triathlon.racechecklist.com/ is a great interactive resource that allows you to create and print your own packing list.
Why Get a Wetsuit?
- Warmth- The neoprene or rubber material traps a small layer of water close to the skin that is warmed by core body temperature and delays hypothermia in water less than 80 degrees.
- Buoyancy- The wetsuit provides safe and fear-reducing buoyancy, but should not be relied upon as a life preserver. However, increased confidence in the open water can be another benefit.
- Speed- Reduction of drag, the effects of providing buoyancy to the hips and legs, and the ease of breathing and sighting all contribute to a 10% or greater reduction in time over an Olympic distance swim (3-5 minutes!).
- Energy Conservation- This should be your goal on the swim, since you still have some biking and running left to do! During a 750-meter swim by using a wet suit resulted in an 11% decrease in swimming heart rate and led to a 12% improvement in efficiency during a subsequent 10-minute cycling exercise when compared to swimming without a wetsuit. The lower relative intensity when swimming with a wet suit is classically explained by a decrease in 'hydrodynamic drag' resulting from increased buoyancy.
- Aerodynamics: On the flat, 85% of the resistance you have to overcome is wind resistance, 15% is rolling resistance, and 1-2% is drivetrain/bearing friction. 80% of the wind resistance is caused by you, and 20% by your bike. At race pace, roughly 75 percent of a rider's power is used to overcome aerodynamic drag. Aero reduces frontal area by 12.8 per cent compared to upright. That’s enough to make five to seven minutes difference in a 40k time trial.
Wetsuit 101
- After every use, rinse the suit out with clean cool tap water.
- After you rinse out the suit, make sure you air try completely.
- Store in a dark area at room temperature. (a) Buy it from a store or get fitted first. You need one that fits; (b) Practice in your wetsuit before race day; (c) Take good care of it
- Aerodynamics: On the flat, 85% of the resistance you have to overcome is wind resistance, 15% is rolling resistance, and 1-2% is drivetrain/bearing friction. 80% of the wind resistance is caused by you, and 20% by your bike. At race pace, roughly 75 percent of a rider's power is used to overcome aerodynamic drag. Aero reduces frontal area by 12.8 per cent compared to upright. That’s enough to make five to seven minutes difference in a 40k time trial.
Get a Bike Fit
- Allows you to maximize efficiency, power, aerodynamics, and comfort, and to minimize the potential for injury, discomfort, and diluted performance
- The longer you are on the bike course, the more time you can save with a good bike fit because it will reduce your wind drag, even more than shaving a few pounds from your bike or your body
- Common Mistakes
- Seat too high - You want a slight bend in the knee when you are at the bottom of the pedal stroke. If your hips rock when you ride, your seat is probably too high
- Seat too far forward – when your legs are in the 3 o’clock and 9 o’clock position on the bike, the tip of your knee should be right over the center of the pedal. You can use a plumb line to measure this. A seat that is too high will cause pain in the back of the knee. A seat too high will also cause your hips to rock side to side, which may cause discomfort. A seat that is too low or too far forward may cause pain in the front of the knee. Improper foot position on the pedal (or improper cleat alignment) can cause pain on the inside or outside of your knees.
- Handlebars – They can be too high, low, close or far away and cause neck, shoulder, back, and hand pain. A proper reach allows you to comfortably use all the positions on the handlebars and to comfortably bend your elbows while riding.
- Riding with knees splayed out - Keep them close to the top tube. If you can't, something is wrong with your setup.
- Wearing a scoop neck top or loose clothing - This can be hard to avoid, but if your collar drops down when you are aero, it acts like a parachute. Anything else that flaps forms a rough surface and scoops open in the wind—this is bad. It is recommended you get a triathlon suit for racing.
- Race Number & Bike Number (not required in all races)- If you have a number pinned to your body, even above your butt, it is probably causing drag. Use a number belt for the run. And if you have a bike number tape it smoothly around your seat post like a fairing. If the number is a sticker, the same techniques apply. Even if the race specifies that the number must be placed between the top tube and head tube, it can be taped smoothly so it doesn't flap.
Where Can I Get a Bike Fit?
- Oakley Cycles, Kathy Krumme: http://www.oakleycycles.com/fitting/
- Ohio Cycling Center, Paul Rouse: http://ohiocyclingcenter.com/
Triathlon Bike vs. Road Bike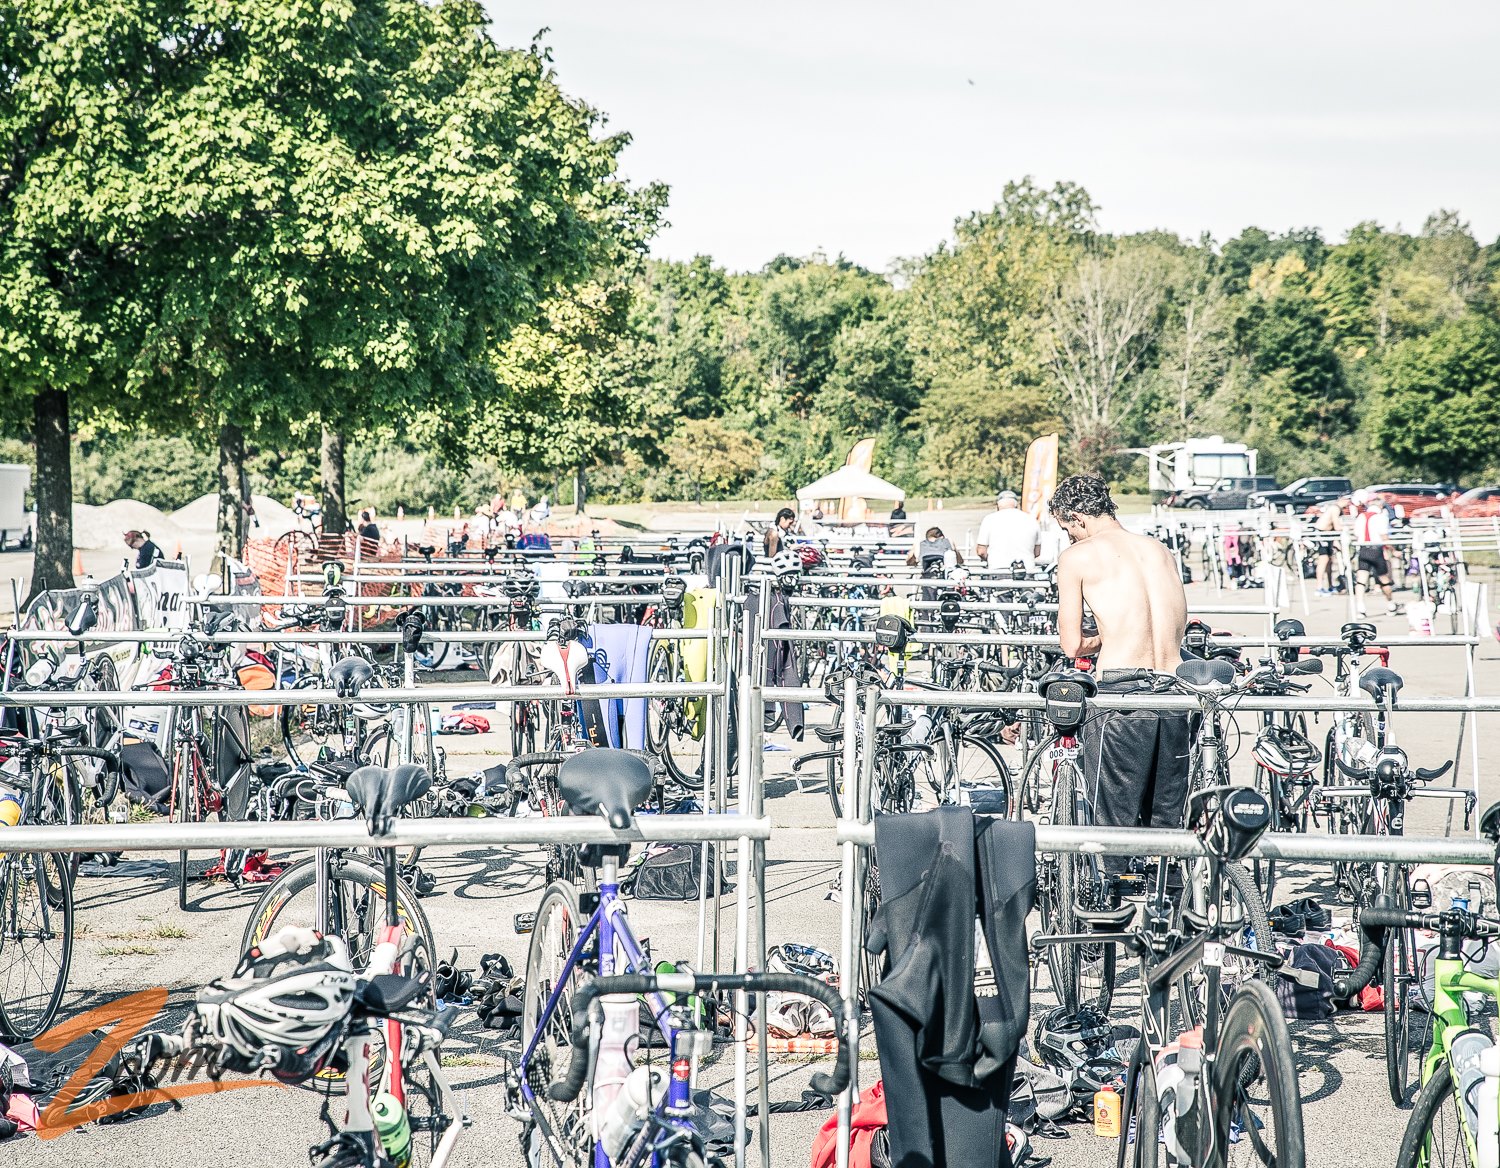
- Road bikes are made to handle well in a wide variety of circumstances including climbing, cornering, or riding in packs of other riders where space is tight.
- Road bikes has a more relaxed, upright riding position (and geometry), with shifters and brakes that are close at hand for enhanced cycling skills and safety.
- Road bikes rider’s relatively upright position creates more drag than a time-trial position.
- Tri-specific bikes is designed to put you in a highly aerodynamic and balanced position, which allows you to reach faster speeds than a road bike with the same power to the pedals.
- Tri-specific bikes design requires more energy from the hamstrings when pedaling. Hopefully this will conserve some energy for the quadriceps when the bike leg is over and it’s time to run.
- Tri-specific bikes comfort and handling are secondary. Standing climbs are more difficult due to a lack of clearance for the knees.
Aero Helmet
- Can save 30-60 seconds per hour of riding
- Get a vented helmet
- Be sure you check your fit and position with the helmet
Aero Bars
Adding arrow bars can help you ride in a more aerodynamic position, but you must also consider other adjustments to your bike. A new bike fit it recommended to help you maximize your aerodynamics and cycling power
- On a road bike you can save your legs for the run by sliding your saddle forward to the point where (assuming you have the crank arms at three and nine o'clock) the kneecap of the forward leg is positioned directly over the toe of your shoe. Expect your saddle to be nearly all the way forward on the rails.
- Also for every centimeter your seat comes forward you will have to raise it one-half centimeter to maintain your original seat height. If your saddle height is correct you should have about a 30-degree bend in your knee at the bottom of each pedal stroke. If your hips rock from side to side when you pedal, your saddle is too high.
- Your ears should be directly over your elbows. More specifically, the leading edge of your shoulders (deltoids) should be in line vertically with the backs of your elbows, creating a slightly greater than 90-degree elbow bend. If you have a shorter torso and you are riding a standard-geometry road bike, the aerobars will likely be a bit too far forward for you to achieve this position. To solve this problem, install a shorter stem.
- Ideally, you should rest your forearms on the aerobar pads just ahead of your elbows, on the wider, more muscular section of your forearms. The farther toward your wrists you shift the less comfortable you will be.
- The aero bar handles should settle into the palms of your hands when your elbows and forearms are in the correct position. Thus, you will have two solid areas of contact with the bars: elbows and hands.
- Lastly, your elbows should be in line with the width of your hips. Any narrower will make your position unstable and constrict your breathing. Any wider and you become a huge air scoop and compromise aerodynamics. Note, however, that if you are new to aerobars you may use a wider, more stable position for a few rides until you become accustomed to the position.
Practice Your Pedal Stroke
Aero position can cause cyclists to push more on the pedals because they pull up less. This causes an efficiency drop as the knee and hip extensors are forced to work harder. So be sure to practice your pedal stroke to maximize your effort and efficiency.
- A smooth circular pedal stroke allows you to pedal more efficiently and at higher speeds with less effort.
- Ensure that you are pedaling circles and avoid dead spots (parts of your stroke where there is no power being transferred). Use the Push-Scrape-Pull-Step motion so that you are delivering a smooth circle full of power.
BytePages Content Management System Powered by Byte Productions™