2026 Season Registration is Open
The Dayton Tri hosts the USAT Ohio State Championships!
Get Training Tips for your Off-Season
Kids Races at the Dayton Tri, and 5k, 10k & 15k Runs added to all Race Dates
Swim Form and Drills
Learn more about the research consulted and images used in this section.
| Swimming Resources | Open Water Tips | Boost Your Bike | Rock Your Run | Transition |
| Nutrition | Strength | Our Races | Training Plans | Tri Training Tips | Coaching |
Surge your swim this season with our training advice. These compiled resources can improve your training and help you race faster. Test out your new skills in the Zoom Triathlons, Aquabike & Open Swims this summer!
Form and Technique Resources
Learn how to improve your freestyle swim stroke so you can fly through the open water.
- 10 Elements of a Perfect Freestyle Stroke: Part 1 & Part 2
- Swim Smooth: Animated Videos and More that Show you the Basics of Proper Freestyle Swim Technique
- Triathlete Magazine: Seven Most Important Aspects of Triathlon Freestyle Swimming
- Common Freestyle Swimming Mistakes
- Work on Your Freestyle Swim; Limit Mistakes
- How to Fix Common Freestyle Mistakes
- Minimize Drag and Maximize Power
- Freestyle Swim Drills
- Fix Your Front Crawl
- Excellent Freestyle Swim Drills
- Free downloadable Triathlon Swim Workouts
Our Favorite Drills
- Swim golf - For each lap, have someone record the lap time in seconds and add the stroke count. Try to reduce the stroke rate and distance per stroke while maintaining your time to achieve a lower score.
- Buoy Press - Using a snorkel with this drill is best. Consciously press the chest while kicking with your face down and in the water. Hold your arms at your sides or extend one arm out in front of your body. Head/chest down = hips up!
- Fist Drill - Swum like regular freestyle, except you hold either one or both of your hands in a fist. Vary the pattern and the number of strokes that you are "fisted.” When you unclench your hand, you should notice a difference in pressure on your hand - use this feeling to keep your hand holding water as you move through your pull pattern. When you are clenched, you should also try to press on the water with the inside (palm side) of your forearm - think of the lower arm, from elbow to wrist, as an extension of your hand. Swim with your fingers closed into a fist. This drill helps promote elbow bending at the beginning of the pull.
- Water Flip Finishing Drill - At the end of the swim stroke flip water (or touch your bottom) up to emphasize complete follow through of the arm through the swim stroke
Learn Good Form Swimming
How to Improve your Swim Stroke (taken from Total Immersion Swimming by Terry Laughlin)
Physiology & Form
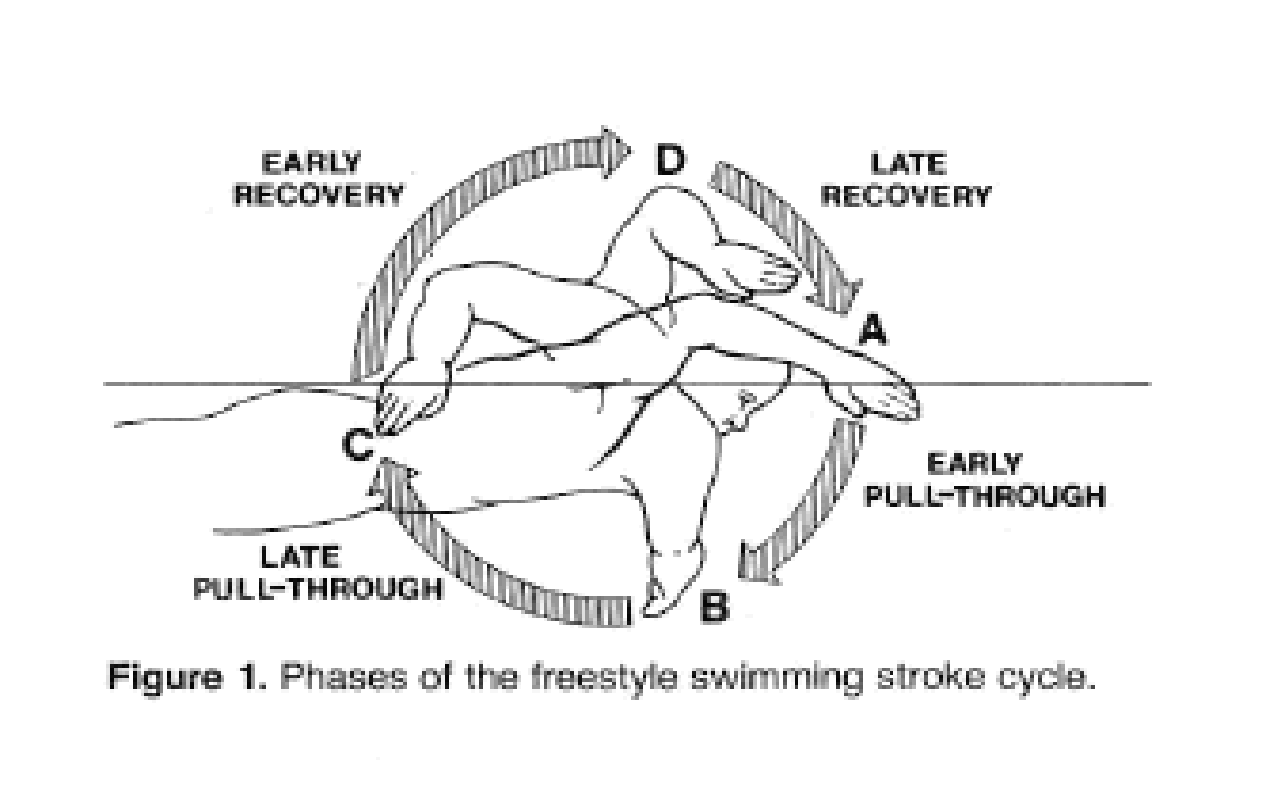
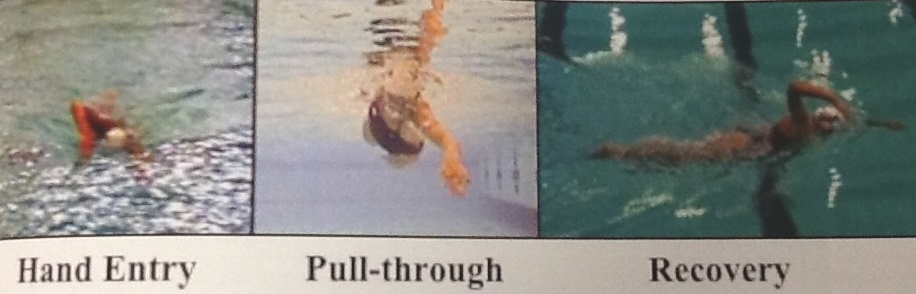
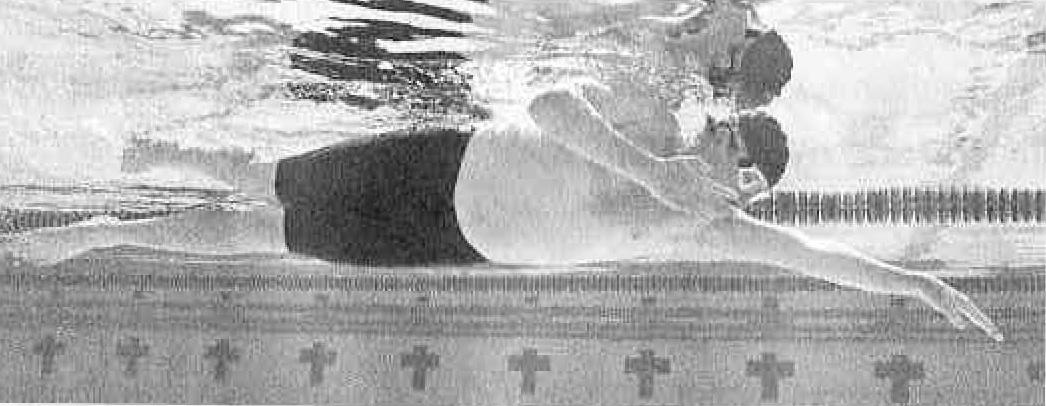
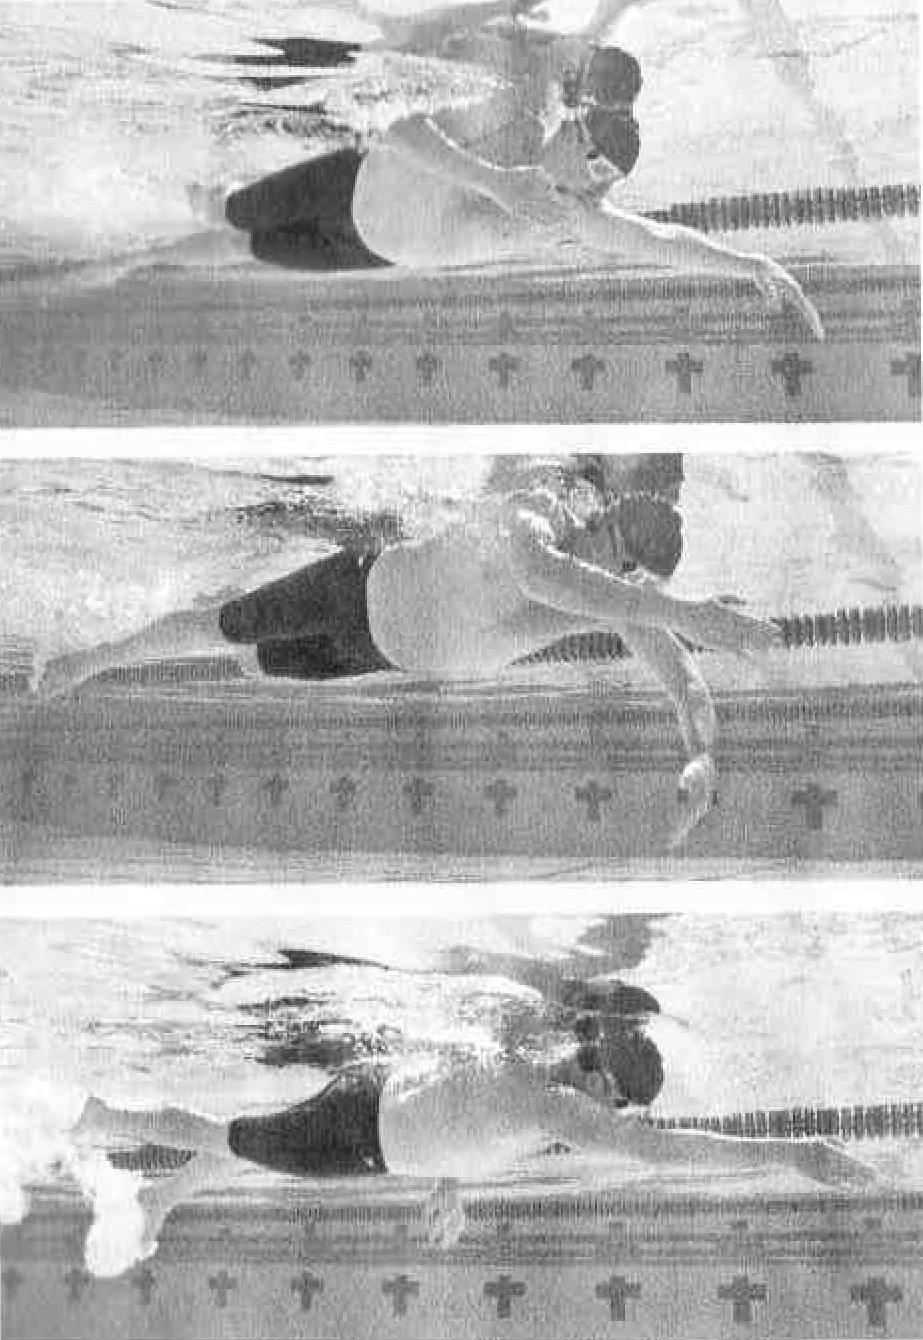
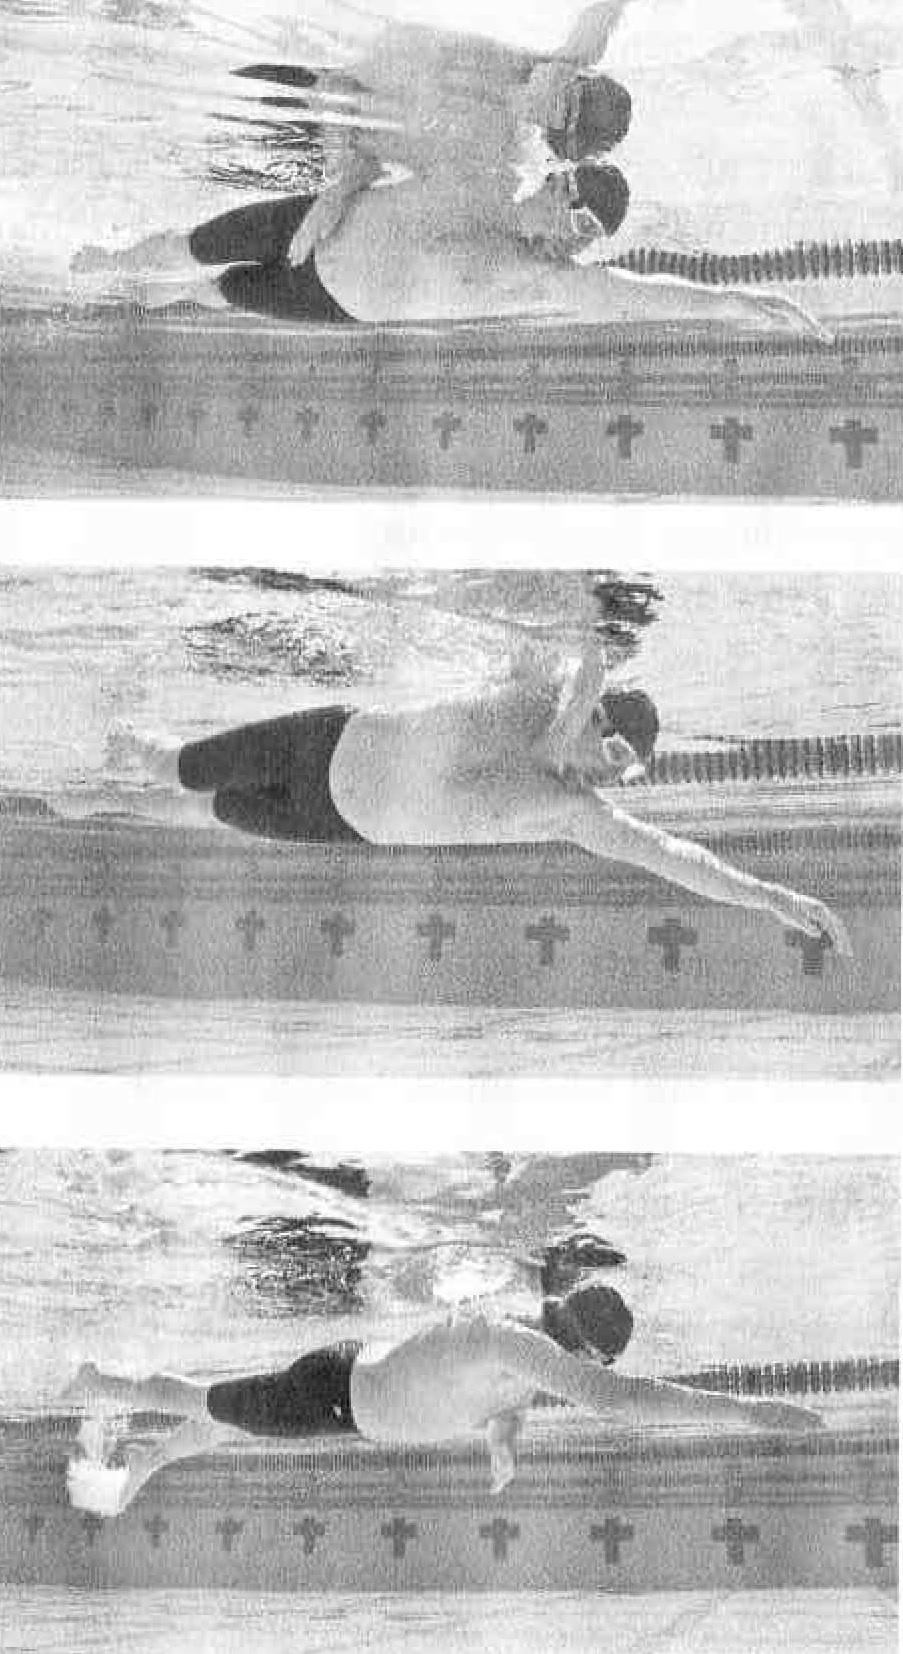
Hand Entry: Hand enters the water between the shoulder and the center of the head and then moves ever so slightly laterally as the arm extends such that the hand ends up just wide of the shoulder.
Pull Through: From that point, the insweep begins, in which the hand moves on a slight angle and gets to the midline of the body.
The hand then changes direction slightly again and sweeps outward until it exits the water next to the body at about the level of the hip.
Recovery: Once the hand reaches the hip, the hand is essentially dragged back up along the body keeping the elbow higher than the wrist at all times. Once the hand reaches the shoulder, the stroke is repeated.
Kick
- For triathletes, you want to save your legs for the bike and run portions of the race. This does not mean don’t kick at all, but the primary purpose of the legs during the swim is to maintain a streamlined position and balance the body.
- Keep the legs high in the water to maintain a streamlined position.
- Contralateral leg kicks as the arm goes through the pull phase to maintain a balanced position and body roll.
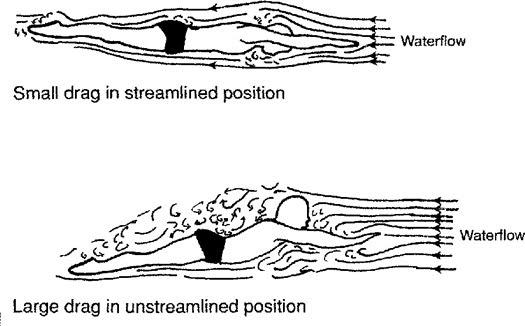
Drag vs. propulsion: There are two ways to become a faster swimmer; reduce your drag and increase your propulsion. Working on reducing your drag will produce far greater benefits than working on increasing propulsion. The more buoyant you are the less drag you will experience. Maintaining a good streamlined position is the best way to achieve maximum buoyancy and reduced drag.
Cadence: The swim stroke should be almost opposite that of cycling and running. When swimming, the harder and faster you try to go the more drag forces come into play. The swim stroke should be long, slow, and smooth.
Common Mistakes
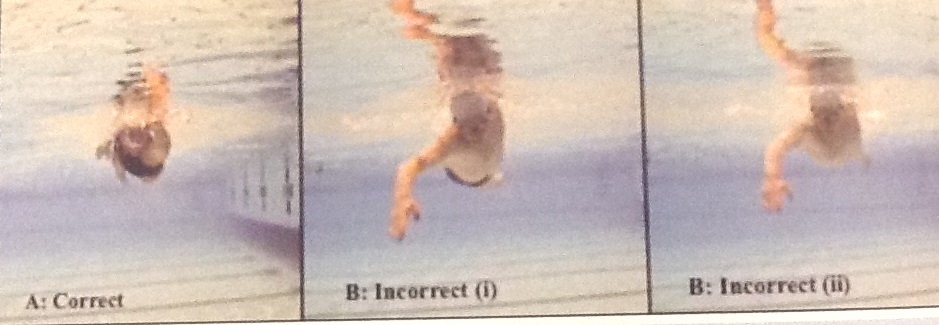
Kicking:
- The problem – The triathlete generates only a slight amount of force through kicking.
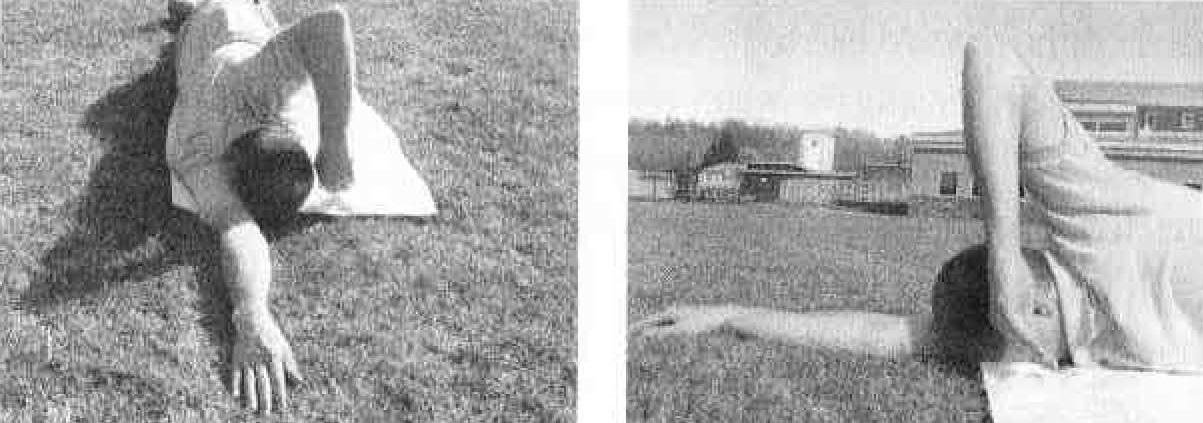
- The solution – The best way to improve kicking is to enhance ankle plantar flexibility and focus on kicking from the hip with only slight flexion at the knee.
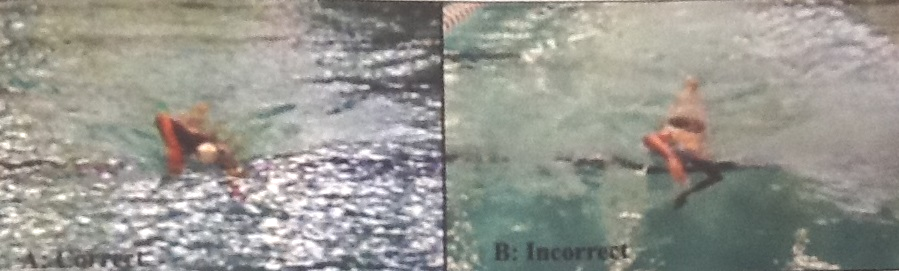
Side-to-side Imbalance:
- The problem – One of the most common faults is a side-to-side imbalance in the movement patterns. Either one arm pulls with a greater force or, more commonly, one arm pulls through wider away from midline than the other. This often causes the swimmer to be unable to swim in a straight line.
- The solution – Practice swimming in a pool and maintain your arm position over the black lane line. Working on body roll will also help maintain a midline arm position.
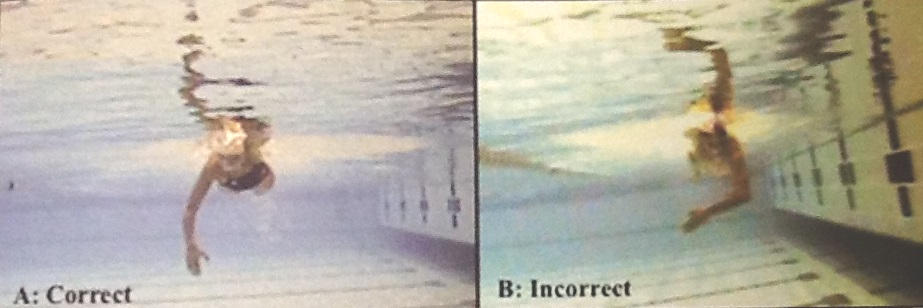
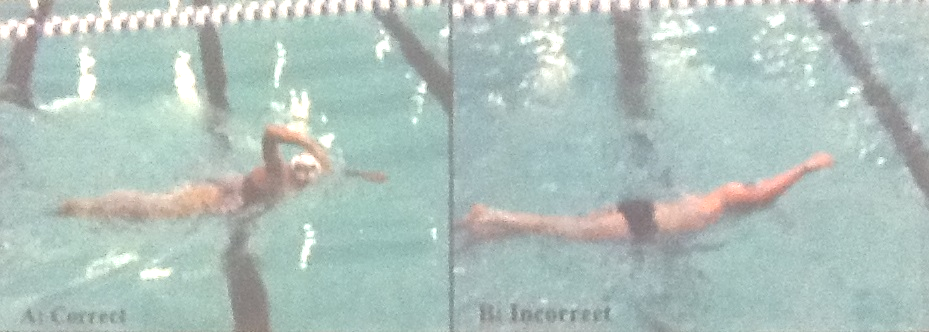
Reduced body roll
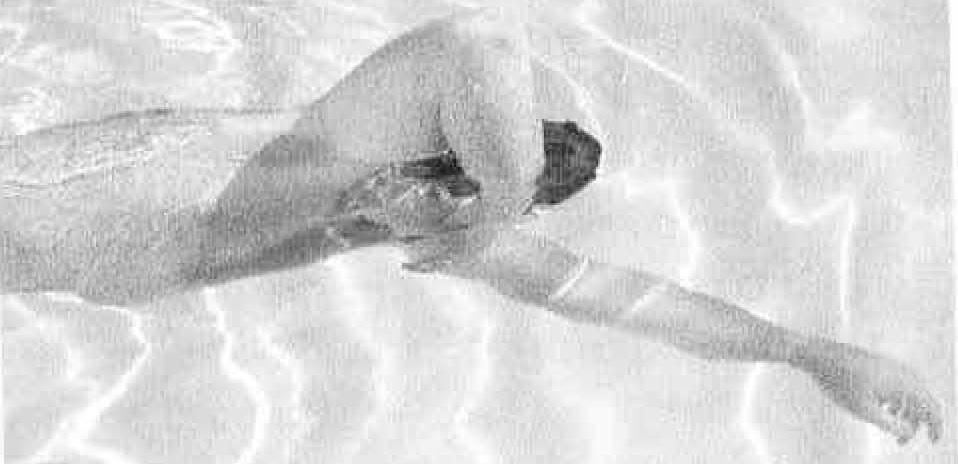
- The problem – Reduced amount of body roll can lead to being flatter in the water causing more drag forces. The body should roll to a minimum angle of 45 degrees. Under rotating also increases the difficulty of moving the arms through the recovering phase and causes more stress on the shoulder.
- The solution – Shark drill. Practice over-exaggerating the body roll.
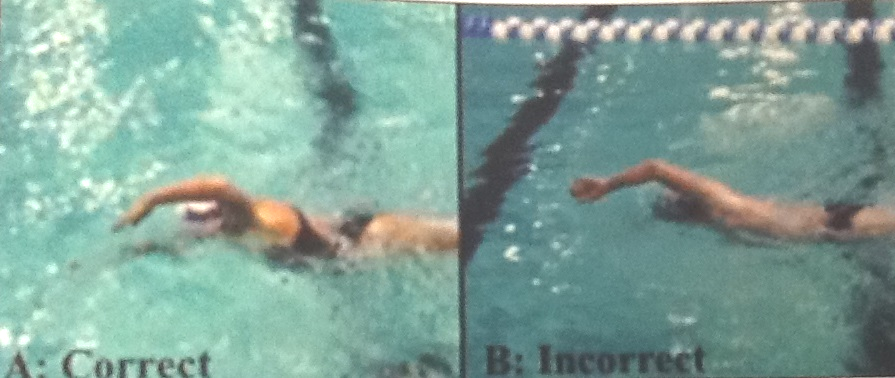
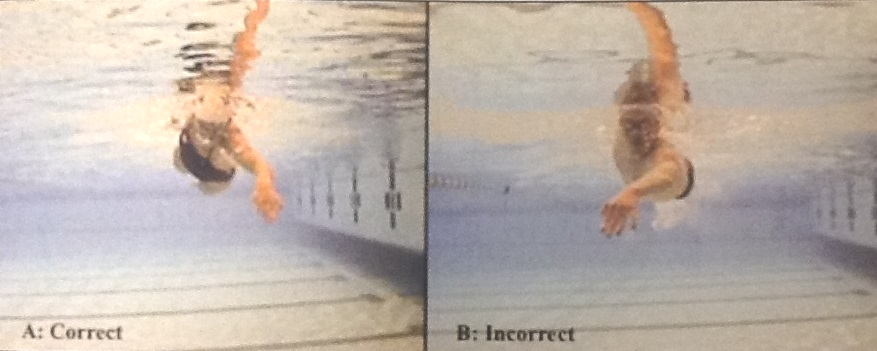
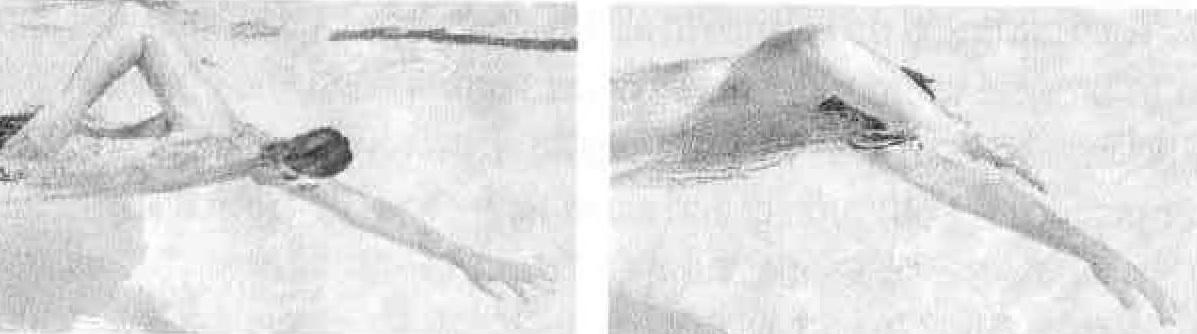
Dropped elbow
- The problem – Having a dropped elbow at the beginning of the pull phase causes a redirection of the reaction forces from the water, making them vertical rather than horizontal, and therefore limits the amount of propulsion gained.
- The solution – Maintain a high elbow as the hand enters the water on the pull phase. Imagine you are trying to “catch” the water with your hand and forearm.
Good Form Swimming Taken from Total Immersion Swimming
Find your sweet spot
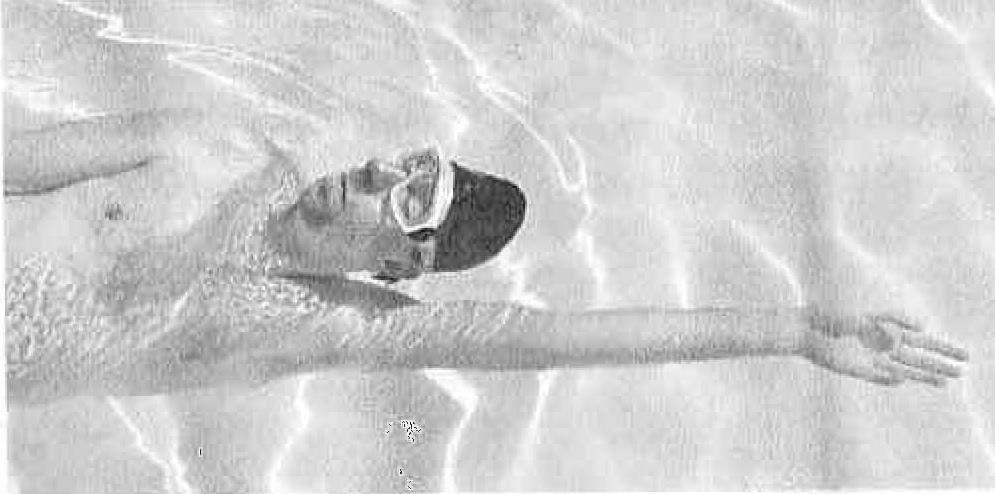
- Begin by balancing on your back just floating in the water (Balance on Back)
- Face parallel to the surface with water wetting chin and goggles
- Make hull shape with your back, ribs closed and rounded shoulders
- Lean on your back to keep your hips higher
- Quiet and gentle kick so knees and toes are on or just below the surface
- Arms at your side
- Slowly start to roll to one side just enough for the knuckles of one hand to barely clear the water. Your goal is to find a position where one arm is dry from shoulder to knuckles and you’re just as comfortable as you were on your back. (Sweet Spot)
- Next, maintaining that position with your body, extend your bottom arm and lengthen your self. Your hand should be just below the surface. (Lengthen Vessel)
- Lengthen from your back
- You may have one side the feels more natural. Over time, work to become comfortable on both sides
- You are trying to create a long straight thin line from your toes to your fingers
Balancing on your Back In the Sweet Spot
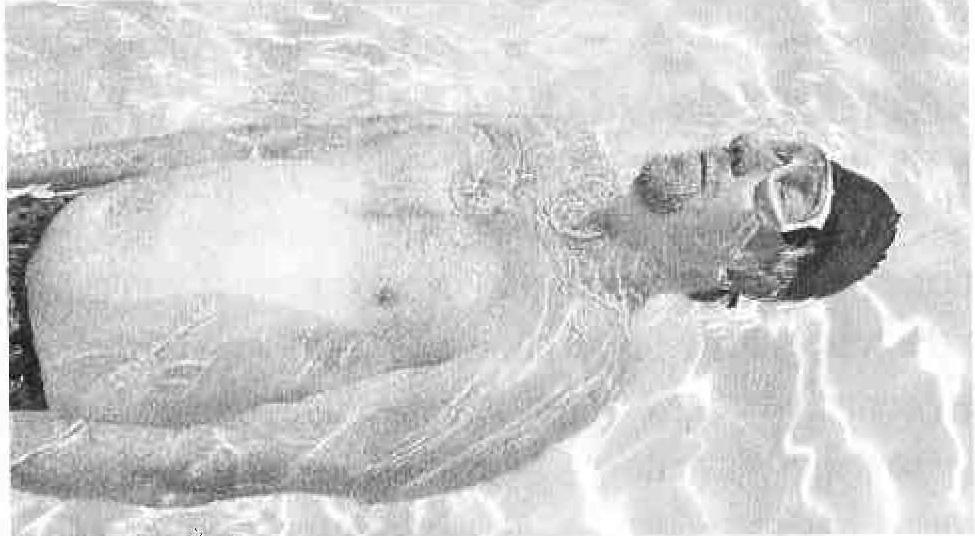
In the Sweet Spot
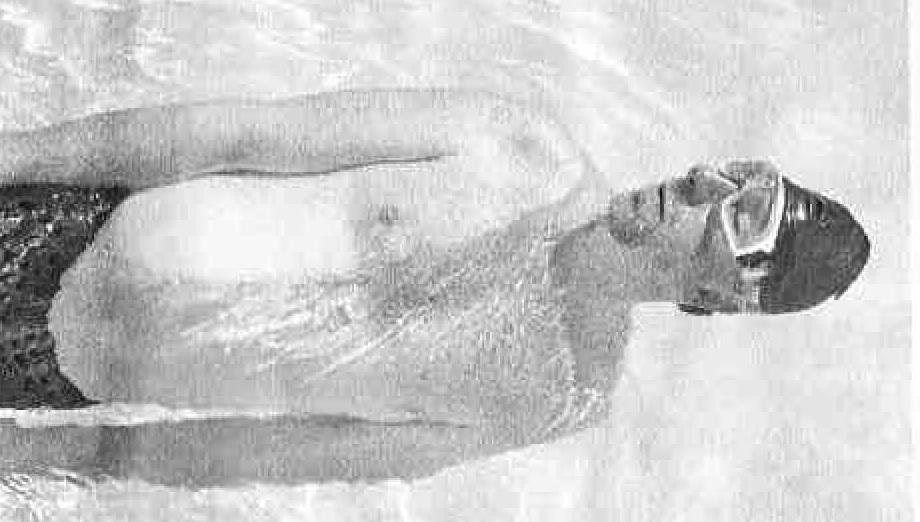
Lengthen Vessel
Fish and Skate
After finding your sweet spot, rotate your head so that the face is down in the water. With your hands at your side, practice kicking in this position. (Fish)
- Lean into your shoulders to keep hips and legs high
- Keep your head in line with your spine
Next, extend your bottom arm to a slightly downward angle out in front of your body and practice kicking in this position (skate). You can angle your hand deeper to keep your legs and hips light and high
Fish
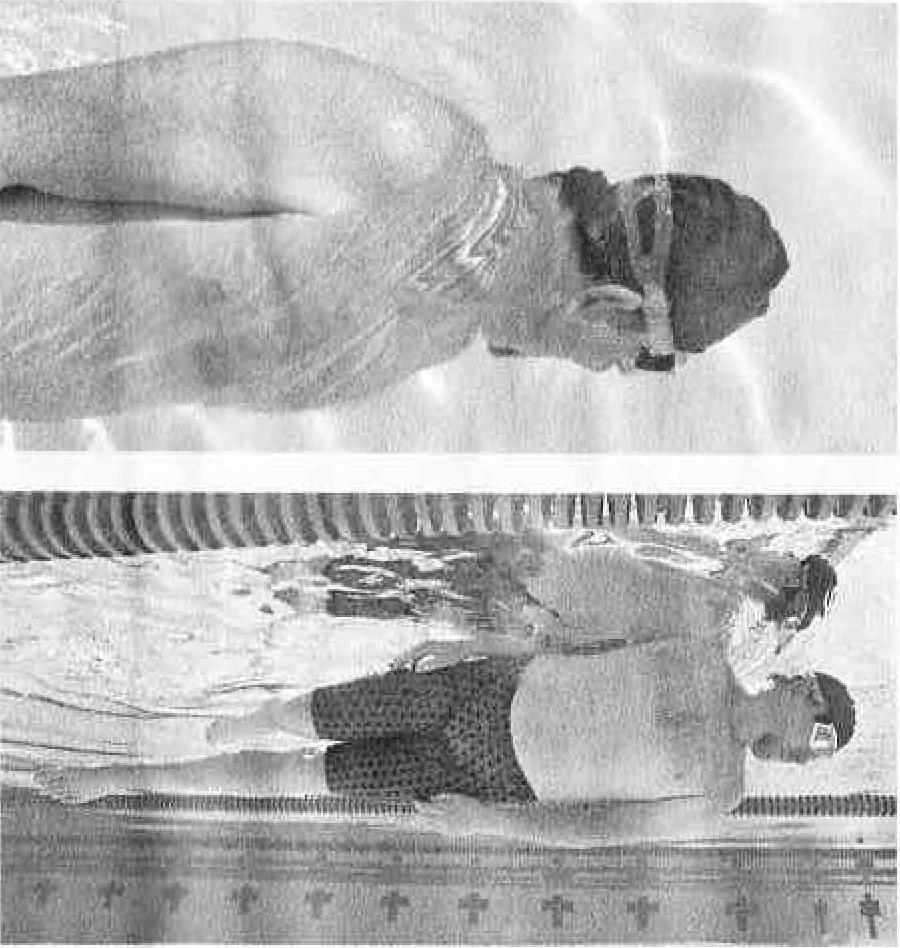
Skate
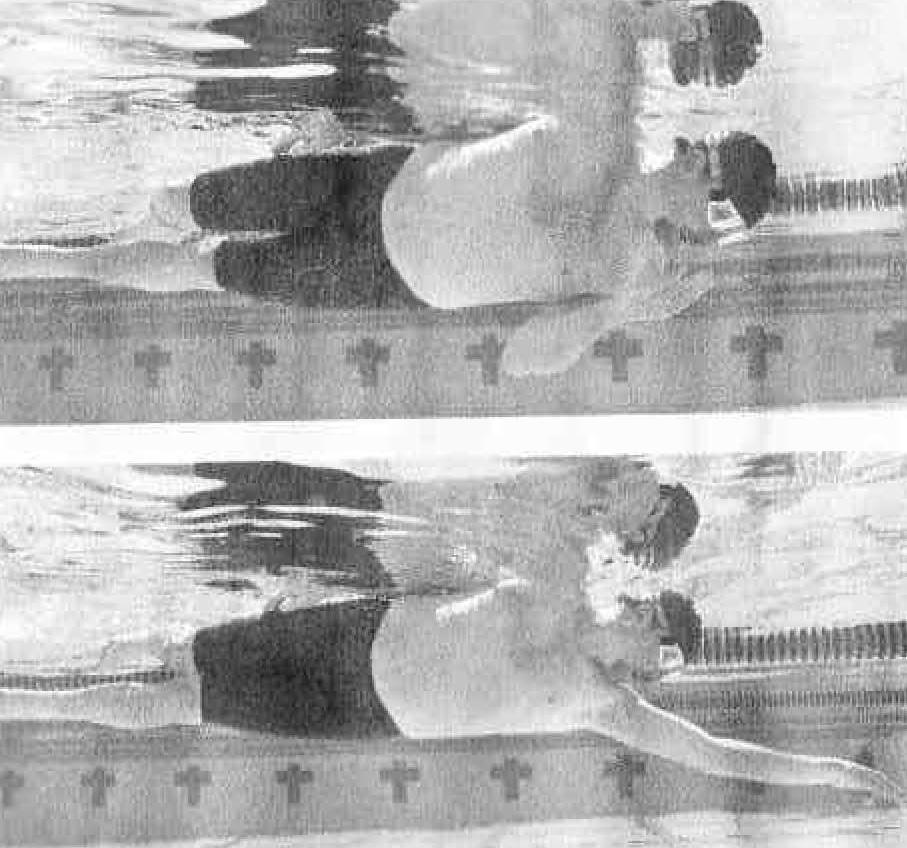
Underskate and Underswitch
- Begin by starting in the skate position. Slowly sneak your trail hand forward under water until you see the hand right under your nose then slide the hand back to your side. (Underskate)
- Next, slide your hand back into the underskate position. Once you see your hand at your nose begin the “switch” of the arms. Smoothly begin to extend the top arm out in front of you as you begin the pull with the other arm. As you perform this movement you should roll onto your other sweet spot. (Underswitch)
Underskate
Underswitch
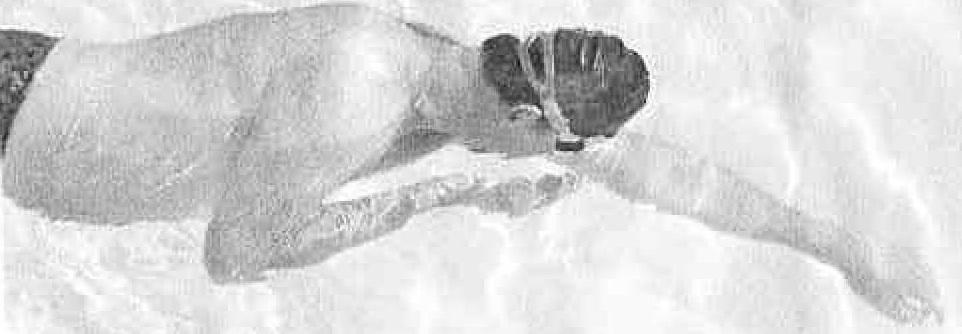
Zipperskate and Zipperswitch
- Once you have mastered the underskate and underswitch we can begin pulling the trail arm out of the water.
- In the skate position, rather than recover under water, drag your trail hand along your side (as if pulling up a zipper).
- Lead with your elbow for as long and as high as you can.
- Once your arm is dangling alongside your ear, check that your shoulders are still stacked, then slide your hand back down.
- Once you have the zipperskate down, you can practice the switch. Just as is in the underswitch, get your trail hand into the zipperskate position and then initiate the switch.
- For the zipperswitch as soon as your hand catches up with your elbow (remember you are leading with your elbow) slice it in and forward as switch roll to the other side
Zipperskate
Zipperswitch
Overswitch & Ear Hops
- Look down so the water flows over your head; be sure to keep the head align with the spine
- Take your hand out of the water and hop it over your ear
- Let your elbow do all the work of taking your hand out of the water and putting it back in the water. Your arm should hang from your elbow.
- As your hand and arm enter the water, cut a hole and slip your entire arm cleanly through and steeply until it’s below your head.
Ear Hop
Key points to remember
- When you breathe roll your body to the air rather than turning your head. A secondary goal is to breathe smoothly on both sides.
- Keep your head aligned with your spine as your roll. Just the top of your head should be out of the water.
Video demonstrations can be found at:
Get more information from the book Triathlon Swimming Made Easy by Terry Laughlin or check out their website at http://www.totalimmersion.net/
BytePages Content Management System Powered by Byte Productions™